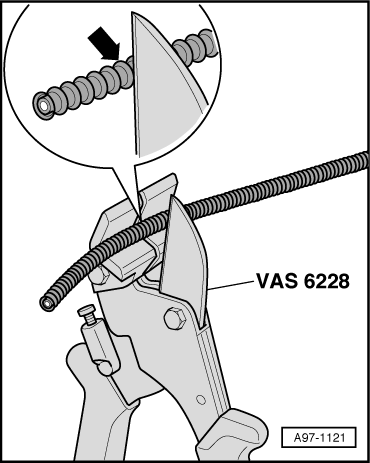
Volkswagen Touran Service Manual: Fiber-Optic Cable, Assembling
Volkswagen Touran Service Manual / Electrical System / Wiring / Wiring Harness and Connector Repairs / Fiber-Optic Cable, Assembling
 Note Note
|
 Caution
|
|
|
|
|
|
|
|
|
|
|
|
Note
|
|
|
|
|

|
|
|
|
|
Note
|
|
|
|
|
|
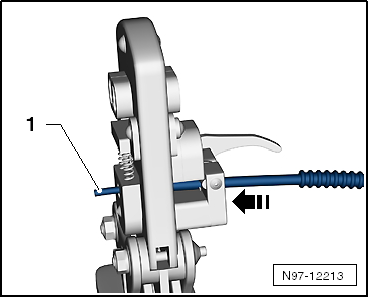
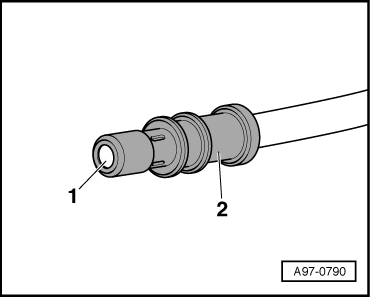
 Wire Break with Dual Repair Point
Repair point with intermediate wire section
Free up wire intended for repair at two points
(approximately 20 cm to both sides of respect ...
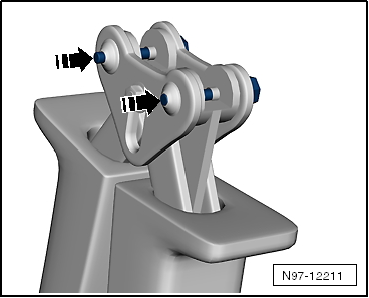
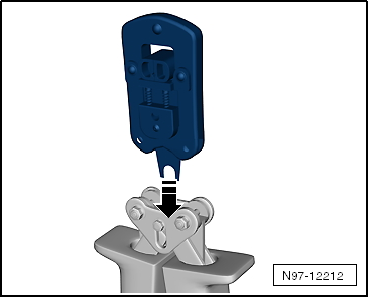
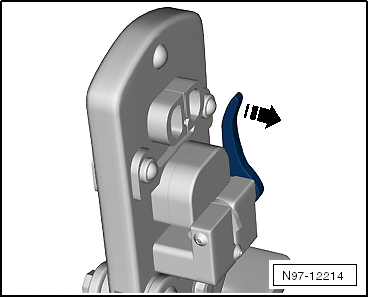
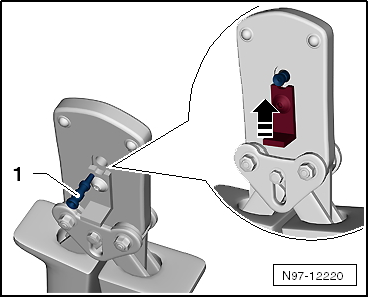
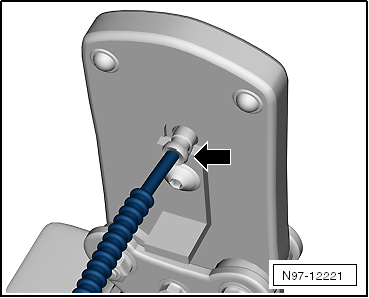
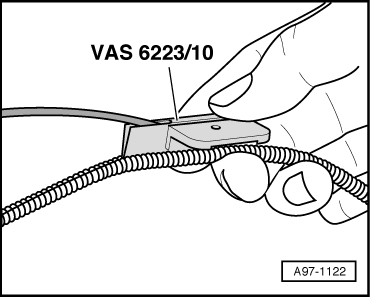
 Fiber-Optic Cable, Disconnecting from Wiring Harness Connector
Removing
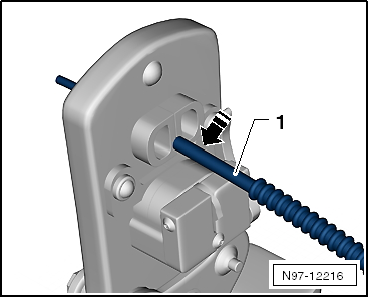
Unplug connector for fiber optic cable from appropriate
control unit.
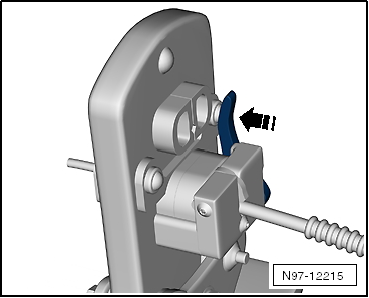
Release the locking m ...
Other materials:
Volkswagen Touran Owners Manual. Introduction
This chapter contains information on the following subjects:
→ General information on transporting children in the vehicle
→ Various securing systems
→ Using a child seat on the front passenger seat
→ Using a child seat on ...
Volkswagen Touran Owners Manual. Cleaning stowage compartments, drink holders and ash trays
First read and observe the introductory
information and safety warnings Cleaning stowage compartments and
drink holders
Some stowage compartments and drink holders have a removable rubber insert in
the base.
Moisten a clean, lint-free cloth with water and clean the parts.
If this ...
© 2016-2026 Copyright www.vwtouran.net | 0.0094
