Volkswagen Touran Service Manual: Wire Break with Dual Repair Point
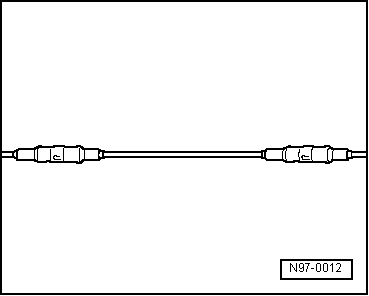
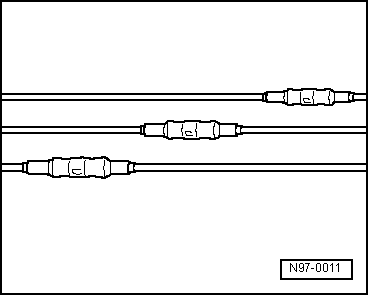
| Repair point with intermediate wire section |
| |
Free up wire intended for repair at two points
(approximately 20 cm to both sides of respective repair points). |
| |
If required, remove wiring harness wrapping using a folding
knife. |
|
|
|
| |
Route the yellow repair wire next to the damaged wiring
harness and cut the repair wire to the required length using the
Wiring Harness Repair Set - Wire Strippers -VAS1978/3-. |
| |
Cut damaged wire section from the vehicle-specific single
wire. |
|
|

|
| |
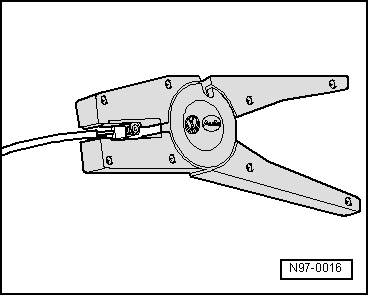
Strip the wire ends using the 6 - 7 mm wire stripper. |
| |
Slide crimp connection onto vehicle-specific single wire at
one side and onto repair wire at the other side. |
|
|
|
| |
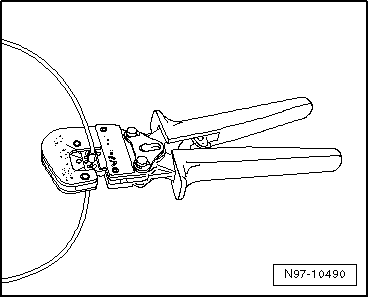
Crimp the crimp connection at both wire ends using crimp
pliers. |
| |
Repeat this procedure at the other repair wire end. |
 Note
| Always be sure to use the correct crimping slot for the
crimping connection used. Refer to
→ Chapter "Crimping Pliers with Insert". |
| Do not crimp wire insulation. |
| After crimping, crimp connections must be heat-shrunk using
hot air gun to prevent moisture penetration. |
| |
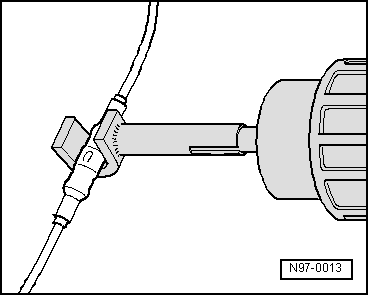
Place the Wiring Harness Repair - Blower - Shrink Element
-VAS1978/15A- on the Wiring Harness Repair Set - Hot Air Blower
-VAS1978/14A-. |
|
|
|
| |
Heat crimp connection using hot air gun lengthwise from
center outward until it is sealed completely and adhesive comes
out the ends. |

Caution
| When heat-shrinking crimp connections, be careful
not to damage any other wiring, plastic parts or
insulating material with the hot nozzle of the hot air
gun. |
| Always observe operating instructions of heat gun. |
|
Note
|
|
|
| Make sure that crimp connections do not lie directly next to
each other when several wires need to be repaired. Arrange the
crimp connectors at a slight offset so that the circumference of
the wiring harness does not become too large. |
| In the event the repair point was previous taped, this point
must be taped anew with yellow insulating tape after repairs. |
| Secure the repaired wiring harness if necessary with a cable
tie to prevent flapping noises while driving. |
|
|
|
Repair point with single crimp connection
Free up wire intended for repair (approximately 20 cm to
both sides of repair point).
...
Special tools and workshop equipment
required
Fiber-Optic Conductor Repair Set -VAS6223A-
Hose Cutting Pliers -VAS ...
Other materials:
Volkswagen Touran Owners Manual. Introduction
This chapter contains information on the following subjects:
→ Warning lamp
→ Childproof lock
→ Electrical childproof lock
Additional information and warnings:
Exterior views
Vehicle key set
Central l ...
Volkswagen Touran Owners Manual. Opening and closing the bonnet
Fig. 172 The bonnet release lever is
located in the driver side footwell.
Fig. 173 Release lever for opening the
bonnet in the radiator grille
First read and observe the introductory
information and safety warnings Opening the bonnet
The lever for opening the bonnet can only be operated ...
© 2016-2024 Copyright www.vwtouran.net | 0.0244

 Wire Break with Single Repair Point
 Fiber-Optic Cable, Assembling